
Apple has unveiled its next-generation operating system – iOS 10, which Apple CEO Tim Cook even called as “the biggest release ever” for iOS users. A wide diversity of apps, service and features have got updated including Messages, Photos, Maps, Apple music, Siri, Apple Pay, News, Control Center, etc.
This update brings some extraordinary changes and functions to Photos with machine-learning algorithms to identify faces as well as other thousands of different scenes or objects. Besides, it also allows you to make a Memories slideshow to remind you of the by-gone beautiful days. To learn the detailed information, please keep reading and you will have some ideas at last.
Two main aspects about how to use Memories in Photos for iOS 10
Create a Memories slideshow
1
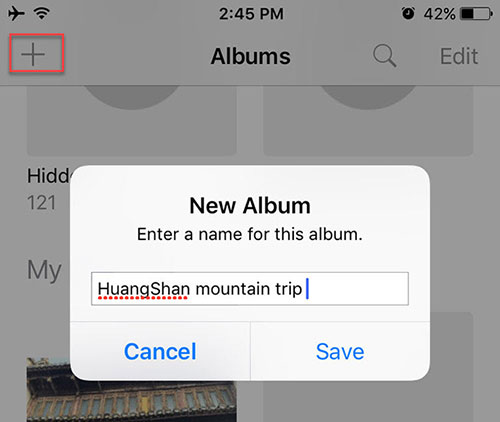
To begin with, open the Photos app on your iPhone and you will see four items including “Photos”, “Memories”, “shared” and “Albums”. Simply hit the tab “Albums” and then click “+” button at the top left side of the screen.
2
Then you are required to name the album whatever you prefer the Memories slideshow to be called. Please remember to add enough photos, which is also an important point to create iOS 10 Photo Memories successfully. Then you create one with the name of the album and the date of the photo as the opening title of the memory.
3
Next you have to add whatever photos that you prefer or ones that match the theme to the memory. For those that carelessly missed or added too many, you can add/remove them later based on your own needs.
4
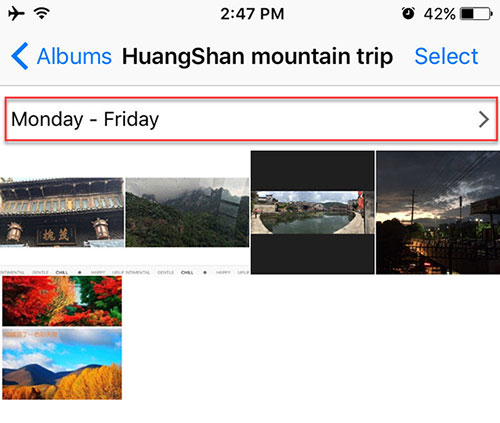
Then open the album you just created and tap the date range shown in the photo.
5
After that, you will notice a thumbnail of one of the photos in your album with the play icon at the bottom right side. Next just hit the “play” tab to create a Memories slideshow which is a crucial step you should bear in your mind.

Tips:
If necessary, you can scroll down to the very end of the album and click “Add to Memories” option to add it to Memories library. Of course, you can also remove it afterwards if you don’t want it.

Edit a Memories slideshow
1
Launch the Photos app from home screen on your iPhone. Then directly tap “Memories” button in the menu bar at the bottom of the screen which looks like a triangle with an arrow circling it.
2
Next scroll down the screen to take a look at all the Memories library there which has a special classification with different titles and clear dates. Then simply select one based on your preference and navigate to the very first large photo at the top of the screen. You are required to hit the “play” tab at the lower right side of the photo.

3
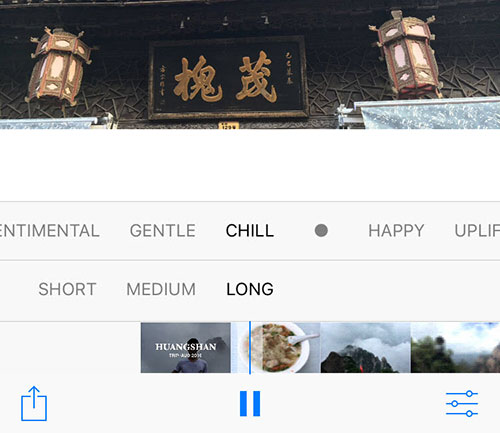
When the video is being played, just tap the screen anywhere. Then please hit the pause icon at the bottom of the screen. At the same time, swipe left or right on the menu bar underneath the slideshow to pick your preferred music accompaniment mood including happy, sentimental, chill, gentle, uplifting, epic, club, extreme. You can also select the size (short, medium and long) of the Memories slideshow as well.
4
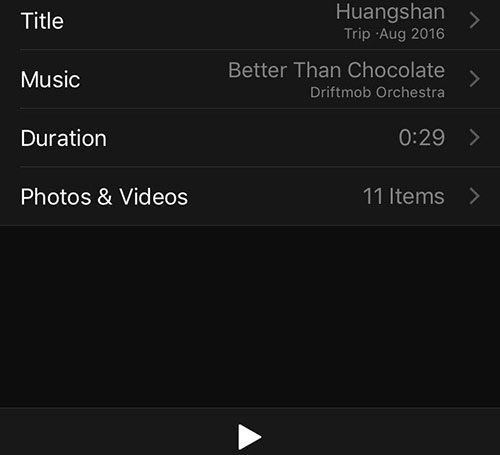
After you choose your ideal theme, you can also accomplish some editing jobs to make iOS 10 Photo Memories in a wonderful way. Stay at the same screen, you will see an editing menu at the lower right side. Just hit the tab and then navigate to the editing interface.
5
Tap on the title, music, duration or photos&videos to adjust your settings based on your need. On the one hand, you are able to change your title name and select different title samples. On the other hand, you can either choose the options “none” or the provided “soundtrack” which basically will meet your demands. If you just want DIY melody to show some specialty, simply select your preferred one from your music library or iTunes. What’s more, you can scroll upwards or downwards to adjust the duration length. In addition, it allows you to add photos you like or remove some specific photos to the garbage can as you want.
6
When you complete all the settings, remember to hit the “Done” tab at the top right side of the screen.
Tips:
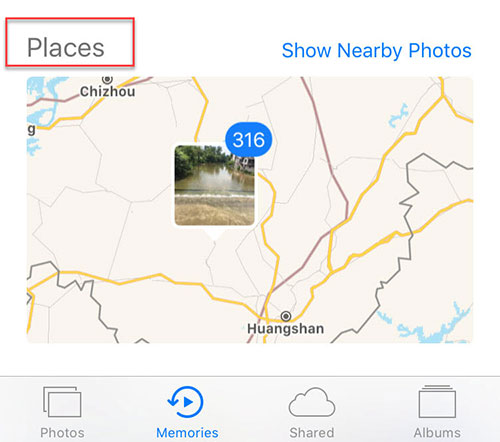
- You can browse all of your photos based on People or Places with maps vividly demonstrating where you have been to. Furthermore, you can also view the details of the photo and make some settings like rotating, adjusting light, cropping, etc.
- If you want to save your Memories slideshow, simply hit the “Share” button at the lower left corner of the screen and hit the “Save Video” tab.

However, on condition that the editing in Memories has limited functions to some degree that it can’t meet your demands to create iOS 10 photo memories slideshow with highlighted effects, hence it is necessary for you to turn to some practical softwares to help you achieve the intention. If you feel at a loss to find a satisfying one, maybe you can try Video Grabber Pro which can truly help you convert the saved video (MOV format for Apple) to other media formats or portable devices for offline playback. Besides, you can use its converter function to trim blank edges of the video, cut parts, adjust quality, embed watermark, and add or edit subtitles, which is truly powerful and highly-efficient to let you edit with ease. If necessary, you can also use AirMore to wirelessly sync files to your PC and then share the video with your friends.
If you have any questions about how to Use Photo Memories in iOS 10, please leave your comments in the sections below and contact us at your convenience.