
What is Green Screen?
Green Screen technically known as chroma key, is a process to mask a video with color. To be more precise, you remove the specific parts and overlay a video on top of them. The most obvious example is the weather forcast. A reporter stands in front of a giant map. Actually, she is standing in front of a green screen. The weather map is added later. In fact, any color can be used as the background theoretically. Since green offers a sharp contrast to human body, so it’s the most commonly used.
How to Do Green Screening with Green Screen Software?
iMovie
iMovie is Apple developed video editing software working on Mac and iOS platforms. Basically, it can trim, split, crop, and rotate videos, which are features most people know. If you further research into it, you’ll find iMovie is also a green screen video editor. But it makes a little transparent at times when we overlay the green back drop with a regular video.
- Start the process by importing a video with regular background to My Media from your Mac. You can add a video with green screen to the sequence to have a direct comparison before the effect is applied.
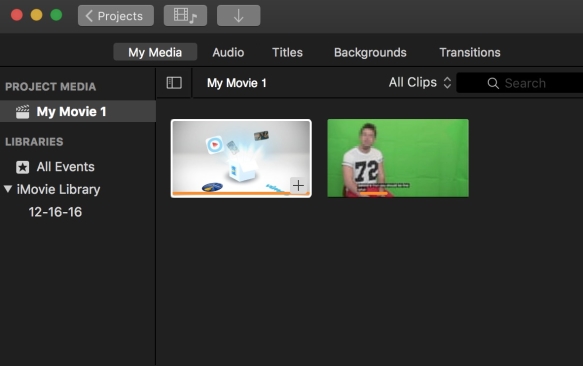
- Click the video which has regular backdrop. There will be a yellow border on it. Choose a clip of it and drag the clip to the timeline. Or you can drag the whole video to the timeline if you need the whole video. Repeat this step for the video with green set.
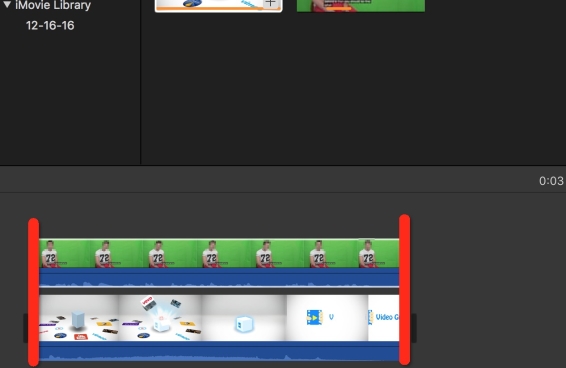
- When both videos are placed in the timeline, you should make sure the videos are put side by side and the green screen video need to be on top of the regular video.
- Click the green screen video, there will be an “Add as Overlay” on the top of player window and click on it. Drop down the bar of “Choose a video overlay style” and select “Green/Blue Screen” from it.
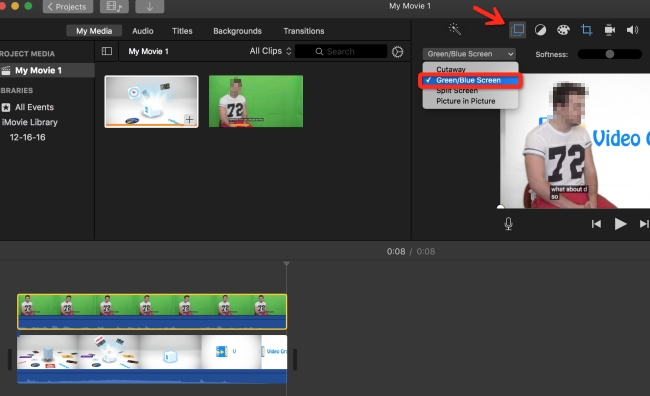
- Preview the video, you’ll find the green screen was replaced by the background of the regular video.
- Click “Upload” icon and “File” to save the video to your Mac.


Adobe Premiere Pro
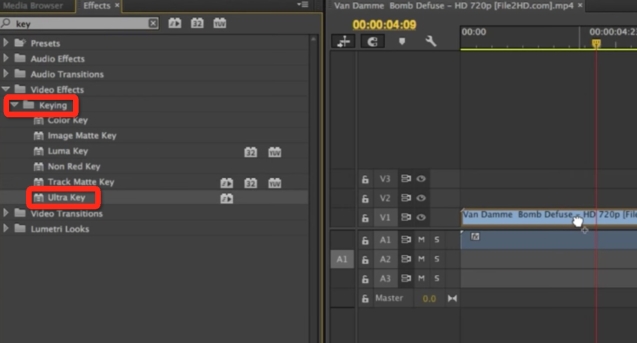
Adobe Premiere Pro is an advanced timeline based video editor which has a sets of tools to edit green screen video footage. The features are hided in the “Effects” tab under “Video Effects” and “Keying” if you want to use it as a piece of green screen video software. The “Color Key” and the “Ultra Key” work in a similar but the later one is more favoured.
- Bring the green screen footage into Adobe Premiere Pro and then driving it into the new sequence button. The footage will show in the timeline.
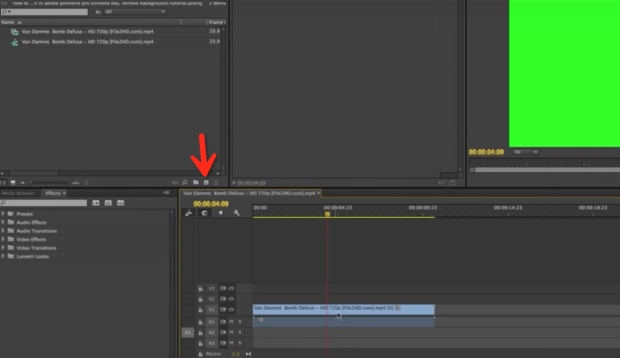
- Go to the “Effect” tab > “Video Effects” > “Keying” > “Ultra Key”, apply the effect by dragging and dropping it to the footage in the timeline we added just now.
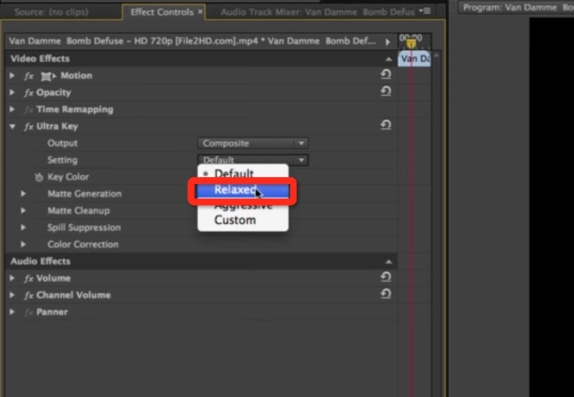
- You’ll have “Effect Controls” options then, from there, under “Ultra Key” option, select the eyedropper in the “Key Color”, go over to the footage on its right side and select the green that you want to rid of.
- Go back to the “Setting” under “Ultra key”, change it to “Aggressive” from “Default”. If you want make more customisation to the subject, you can choose “Custom” and set the “Choke”, “Soften”, “Contrast” and “Mid Point”.
- Now the green background is taken out and you can replace it with full motion video or photo.


Final Cut Pro X
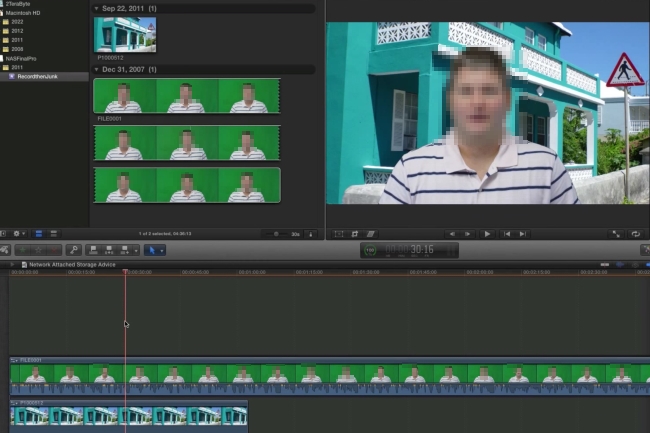
Final Cut Pro X is more known as Apple video editing software after it was rewritten in 2011. It has a large user base, especially independent filmmakers. As green screen video editing software, Final Cut Pro X provides Chroma Key effect similar to the Green/Blue effect we discussed above. To apply the effect, we should:
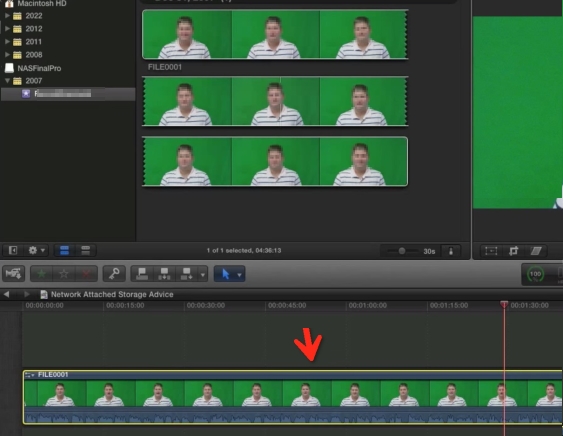
- Add the video with green-colored background to your Final Cut Pro and drag it to the timeline. Cut out the unwanted parts from the video and delete them from the video. We’ll use this video as the foreground.
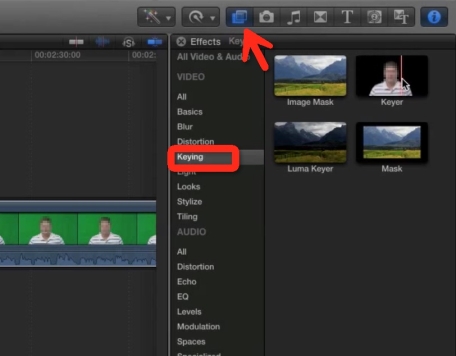
- Then click the video, on its right side, go to find the icon of “Show or hide the effects Browser”, select that and go down “All Video & Audio” and select “Key” > “Keyer”. Drag it over on top of the clip in the timeline and you’ll see the green screen go black.
- Add a still photo or a full motion video backdrop to the timeline, drag it to span all the way across the clip, you’ll see the black screen is replaced by the full motion video now.


The Bottom Line
Green screen is a fun tech to try out. iMovie definitely has the advantage of editing a green screen video over the other two options. Adobe Premiere Pro and Final Cut Pro definitely give a full control for a more professional output. If you have your own creative ideas, share them in the comments.