Some parts of my videos are blurred. I would like to know how to brighten up those parts. I actually have software called Virtualdub. It is a video editor and it can brighten the whole video but not parts of it. I do not want to brighten up my whole video, just the blurred parts. What can I do to make this possible?
Virtualdub is a video capture and processing program that you can install on your computer for free. It also comes with basic editing features for trimming and cleaning your videos. It is true that you can brighten a dark video using this program. But if you want to brighten only part of it, there is a work around that you can do. You may cut your video into three parts, and then combine them together to make them into one again. Through this, you can edit the blurred part and make it brighter without affecting the other parts.
How to brighten up dark video
Using Virtualdub
- To cut the video into three parts, load the video, click “Edit” and select Selection Start. Click “Edit” once more and choose Set Selection End. Enter the time stamp of the end of first part. This is also where the blurred part of the video begins. Save this part by clicking on “File > Save AVI as”.
- You now have your first part. It’s now time to cut the blurred part by moving the frame slider to where the first part of the video ended or the beginning of the blurred part. Repeat the steps for the third and last part.

- Now that you have cut the video into three parts, you can load the blurred part and brighten it the same way as you normally brighten a video. Once done editing, you can put together the three parts again to make it one with the blurred part already brightened up. Now, the last step is to start merging video clips.

This could be too much work. Furthermore, Virtualdub can be complicated to use and it also has stability issues. If you want a simpler process, you can try using another easy program below.
Using Apowersoft Video Editor
Apowersoft Video Editor is a great application that you can use for editing your videos. This application is very easy to use as it is user friendly. It also offers more amazing editing features like adding filters, transitions, overlays, subtitles, splitting, cropping, etc. Brightening part of a video can be done in a jiffy.
- Click Download button to start to install it on your computer.
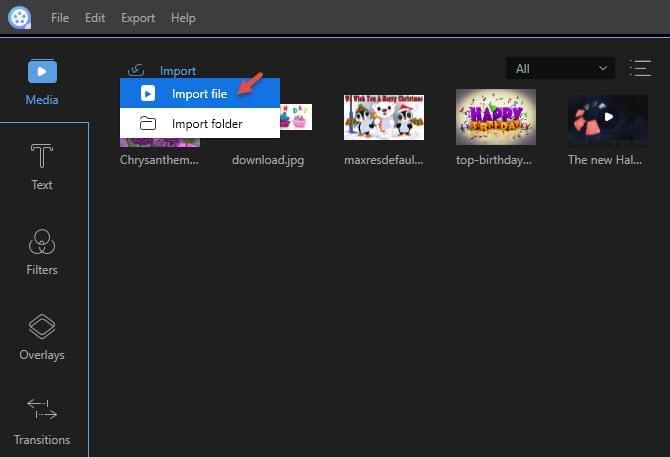
- Click “Import > Import file” and select the video you wish to edit and it will appear on the media area. Drag it to the video timeline below.
- Select the video and move the frame slider at the beginning of the blurred part. Click on “Split”, which is the scissor icon just above the timeline and it will split the video into two. Move the slider to the end of the blurred part of the video and click the “Split” icon once more. It will divide the video into three parts.
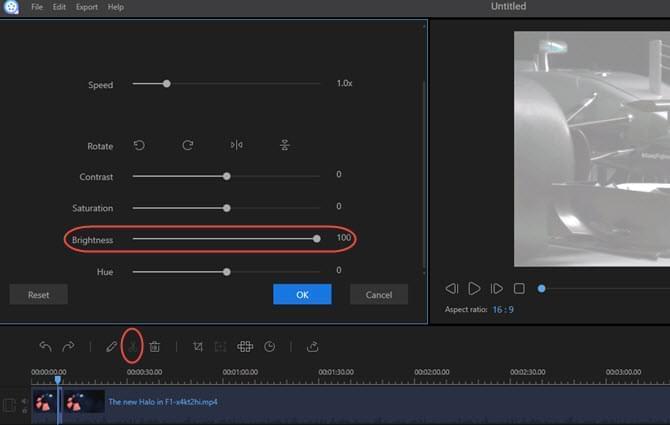
- Click the blurred part, select the “Edit” icon and adjust the brightness of that part. Edit it more if you want to. Click “Export” once done to save the video.

Even people who have no experience on how to brighten video would find this easy tool to use.
Conclusion
Both programs can be used for brightening the whole video or only part of it. Virtualdub requires more work for you to brighten part of the video, not to mention you may experience stability issues.
However, Apowersoft Video Editor has a very elegant interface and it lets you edit part of the video fast and easily. Because of its powerful features that allow you to edit video by adding cool music, beautiful snapshots, a great variety of magic texts, overlays, transitions and filters, you can always create your own masterpiece creatively. Obviously, it offers more editing features than the other program so this one is the best choice.